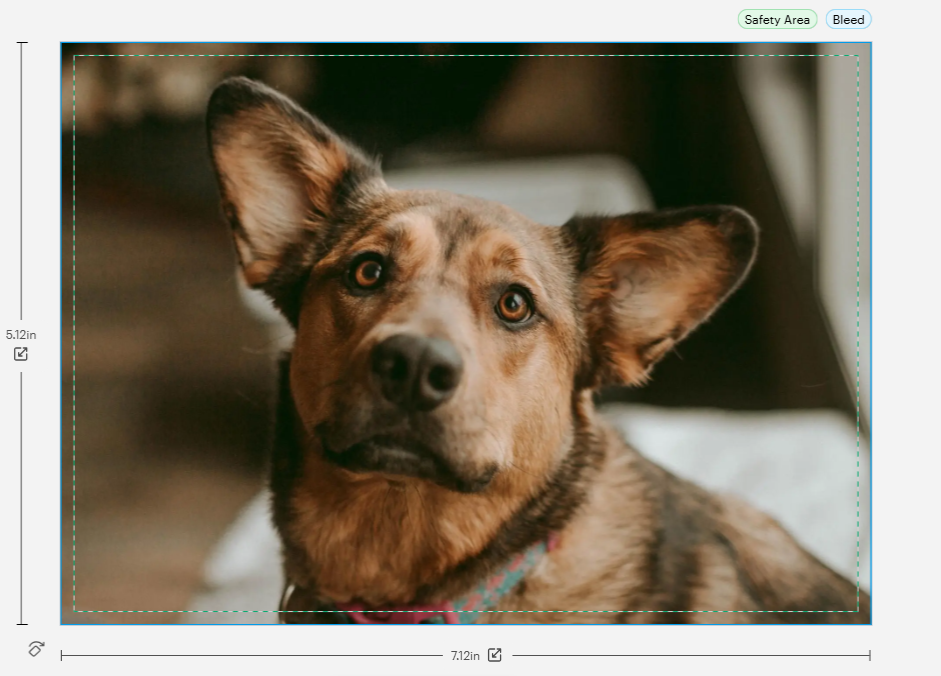
Stretch your design to the full bleed to avoid white borders on your printed product.
Here's how you stretch a design to the full bleed:
1
Select the image
2
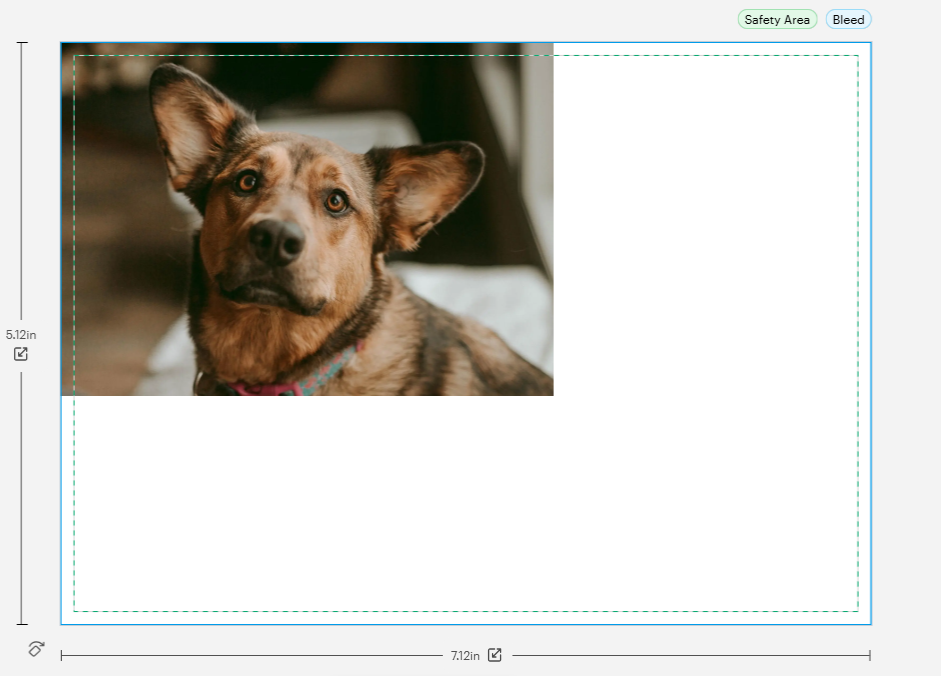
Move the image to a corner
Drag the image to any corner of the design area. When the image reaches the safety margin, it'll automatically move to the edge of the print area.
3
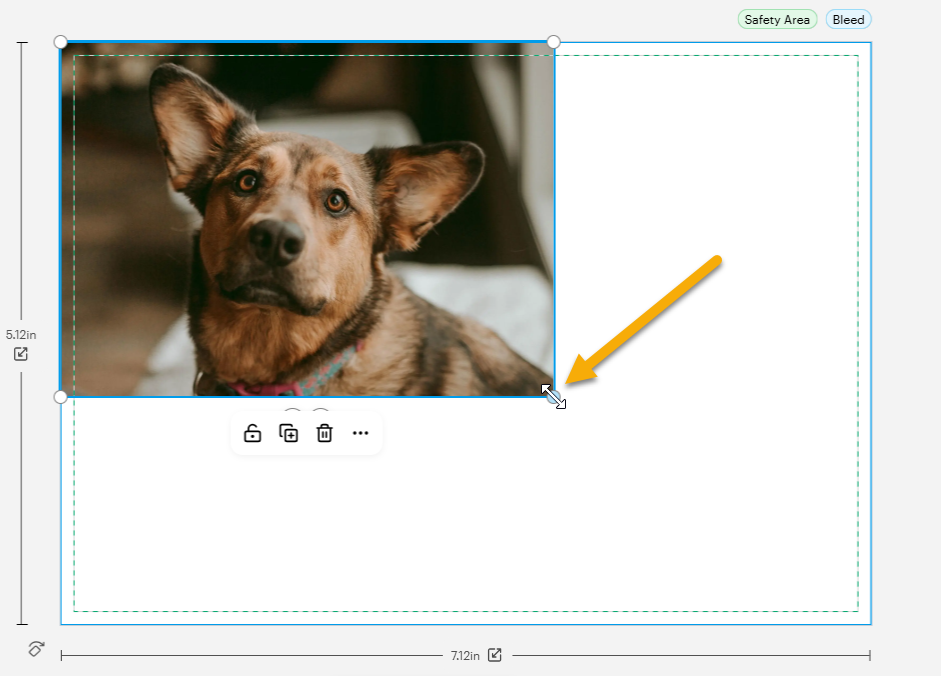
Select the handle
Use the handle in the opposite corner. If you don't see the handle, make sure the image is selected.
4
Increase the size of the image
Resize the image until it covers the entire print area.