How do I add layers to my design?
Last updated 17 June 2026.
Guide
Every time you add a text, image or graphic to your design, you automatically add a new layer.

Each design element you add automatically appears on its own layer. Think of your design as a stack of layers – a bottom layer, a top layer and likely several layers in between.

Check out the following design:

An example of a business card with four layers. From top to bottom: you have the cat image; the graphic banner on the right; the text reading ‘Northern Whiskers’; the text reading ‘Pet Care’.

This design has four layers. From top to bottom:

  • The text ‘Pet Care’

  • The text ‘Northern Whiskers’

  • The transparent banner graphic on the right

  • The cat image

The order of the layers decides which design element is on top of another. The cat image is at the bottom, so the banner and the text are above it.

How do I move design elements up and down?

1

Select the design element

Once you select the design elements you want to move forward or backward, a menu pops up at the top.
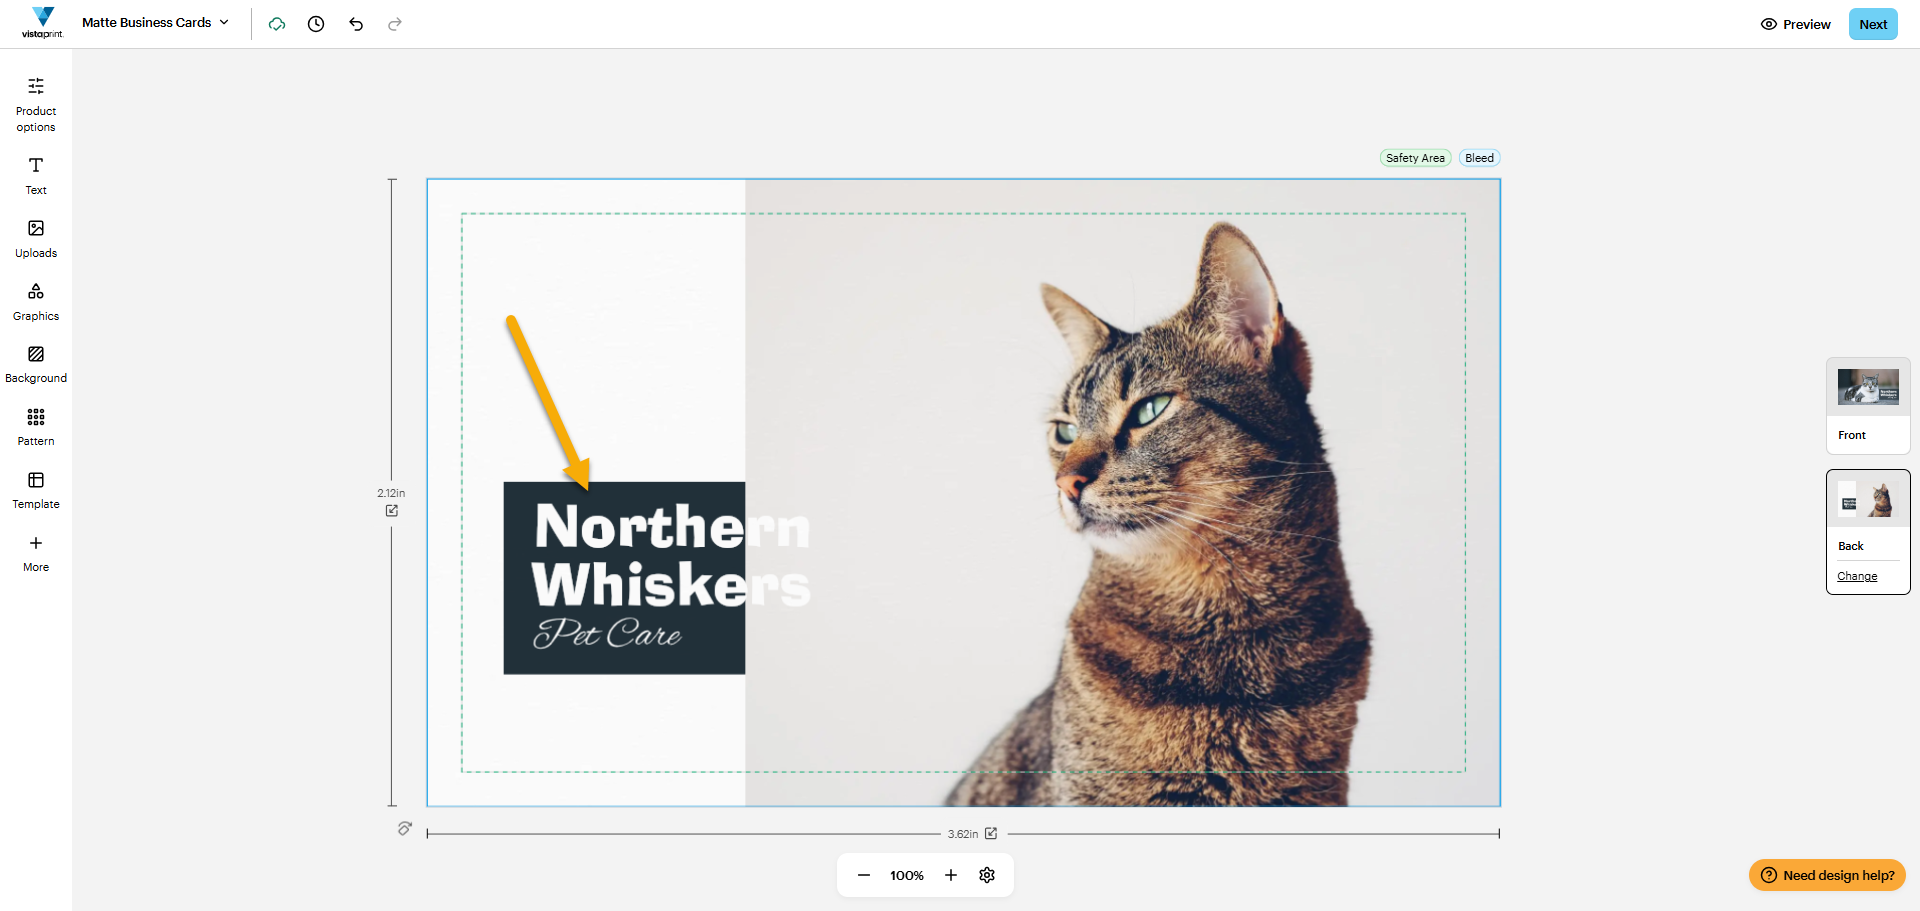
A business card for a pet care business named ‘Northern Whiskers’ with an arrow pointing to the rectangle design element now layered at the bottom and therefore covered by the image of the cat, making the text difficult to read.
2

Select More tools

You’ll find More tools on the right of the menu shown by three vertical dots. Once you select More tools, a second menu appears.
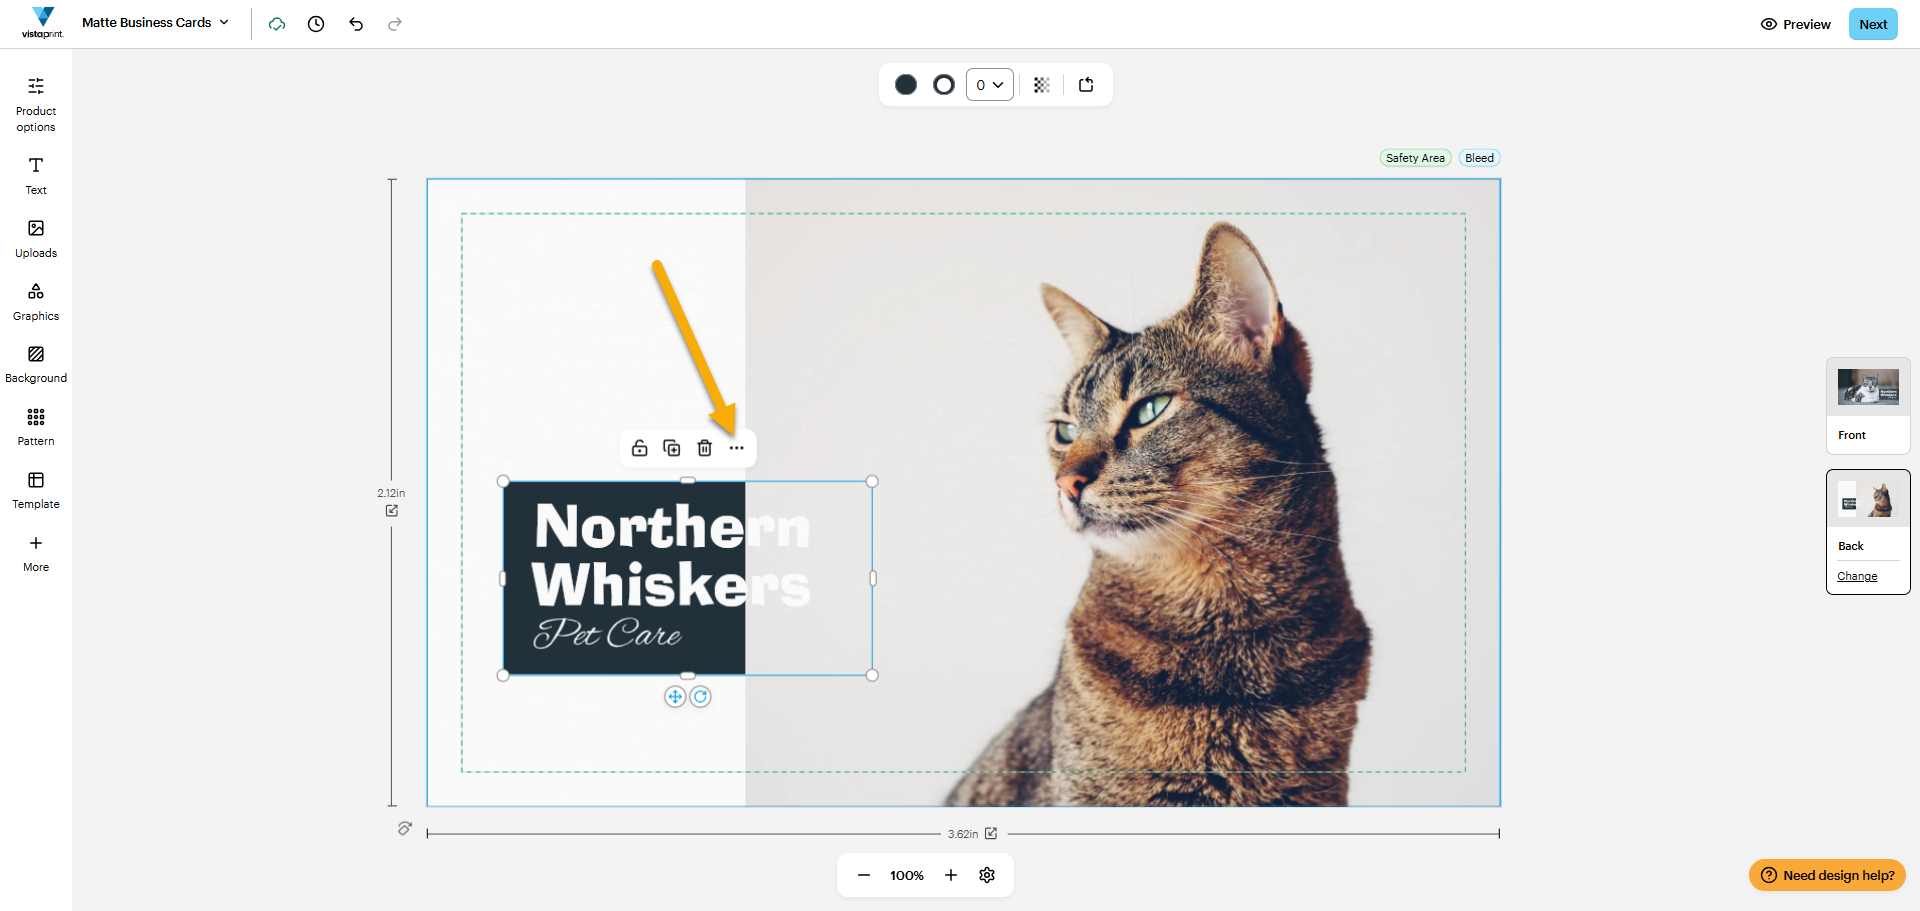
In the business card of the pet care business ‘Northern Whiskers’, a toolbar pops up above the rectangle. An arrow points to ‘more tools’ which is indicated by the three vertical dots on the right.
3

Select Arrange

You’ll find Arrange at the top of the second menu. Selecting it allows a third menu to appear.
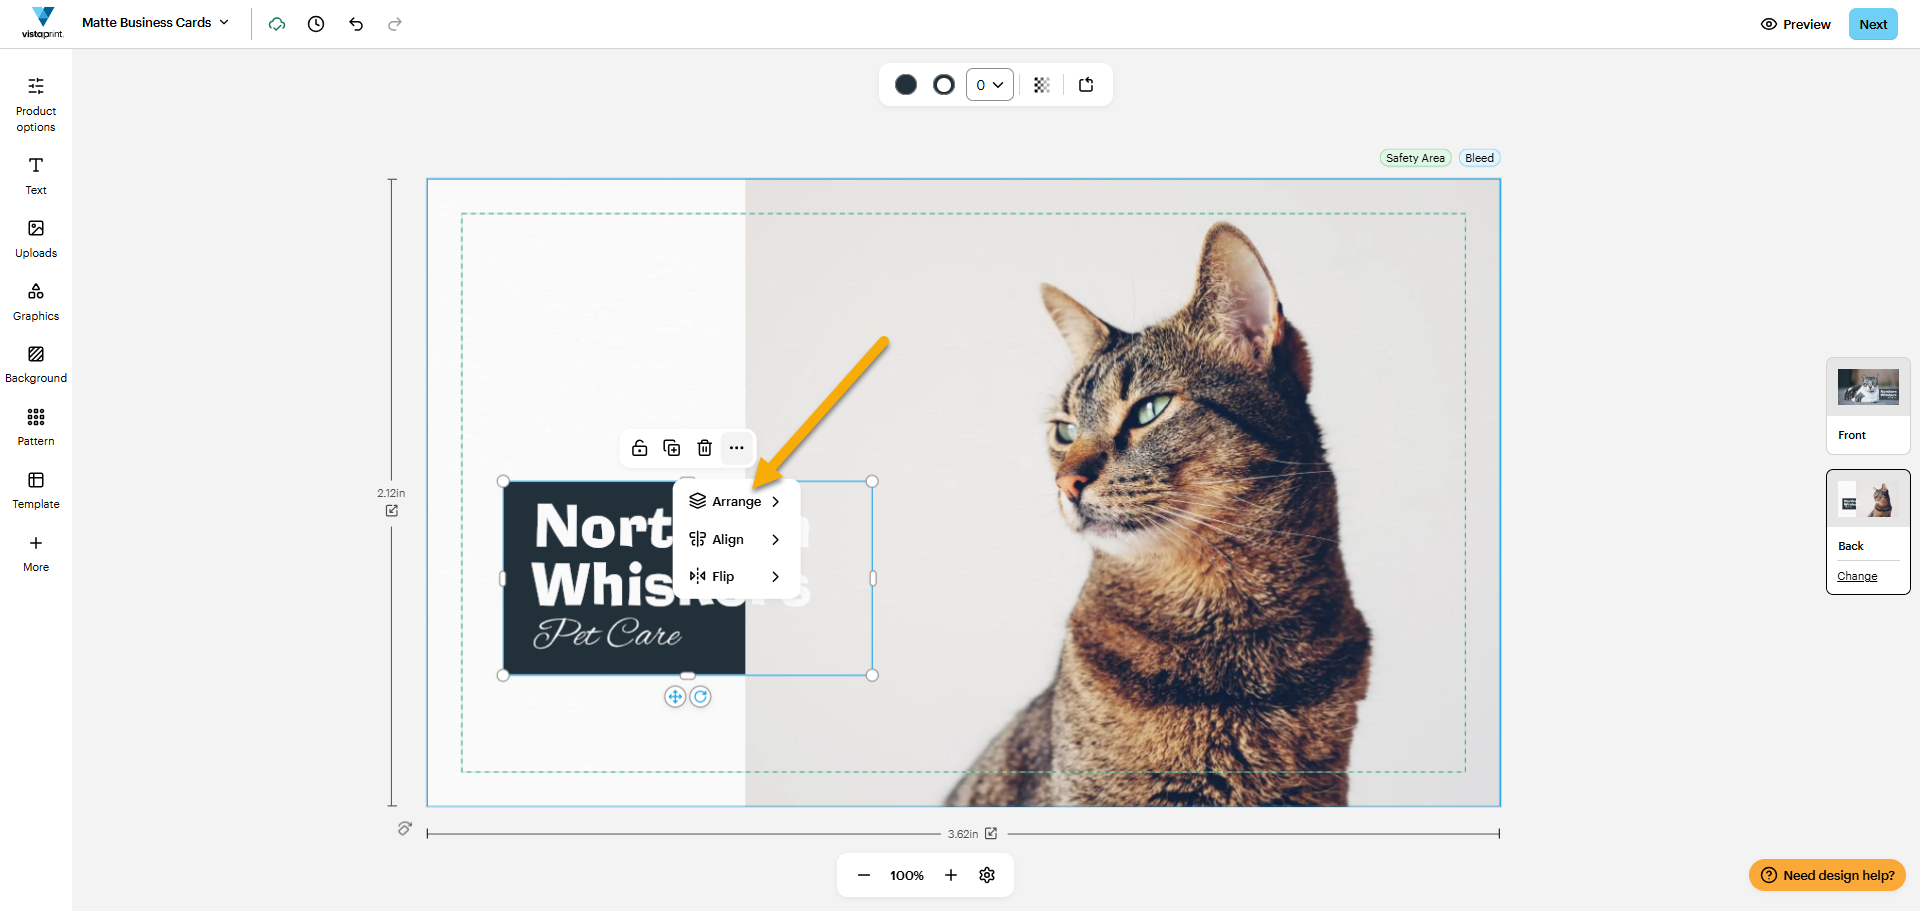
Another menu pops up with an arrow pointing to ‘Arrange’ where you can arrange the layer of the rectangle at the bottom.
4

Arrange your element

In the third menu, you have four options:

  • Bring to front

    If you select Bring to front, the element will move all the way to the top layer.

  • Bring forward

    If you select Bring forward, the element will move up one layer.

  • Send backward

    If you select Send backward, the element will move down one layer.

  • Send to back

    If you select Send to back, the element will move all the way to the bottom layer.
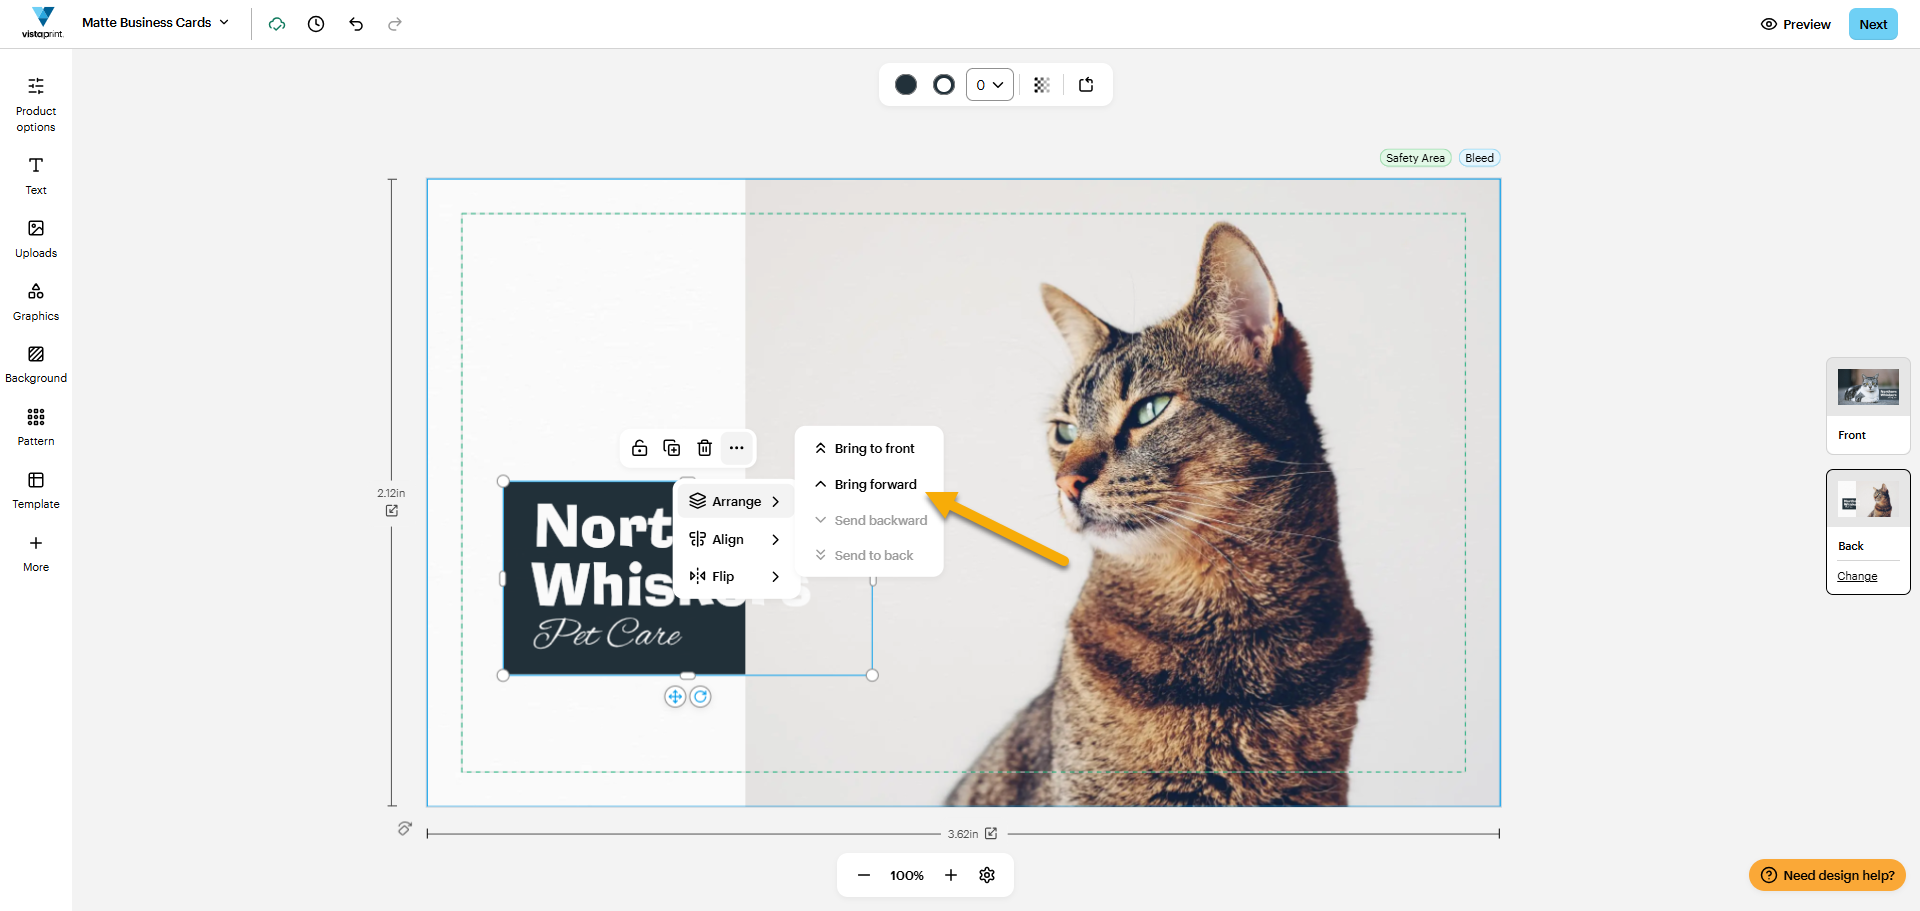
A third menu pops up with the options to arrange the layer: you can move it to the front, forward, backward and to the back. Backward and to the back is greyed out because the rectangle is layered at the bottom. The arrow points to Bring forward.
5

Review your arrangement

The rectangle is now above the cat’s image, making the text readable.
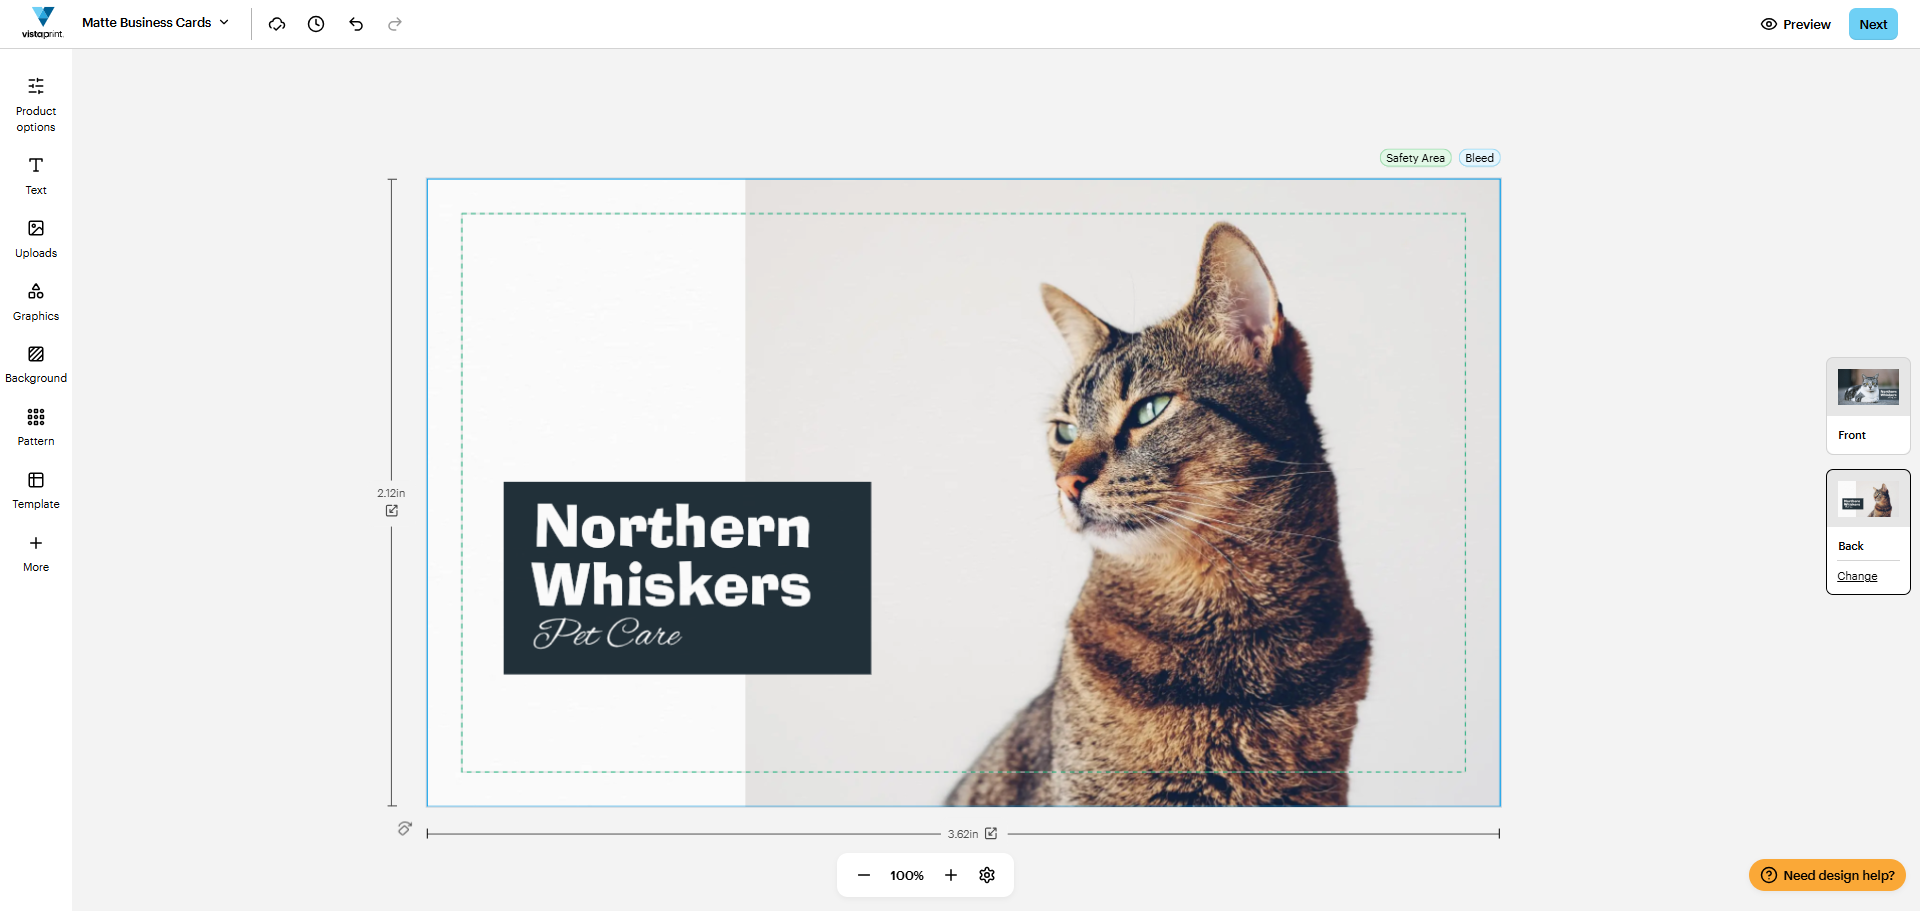
Now the rectangle has been brought forward. It's above the cat image but still under the text elements. Now you can read the text.

Was this article helpful?
Learn how we use your feedback

Connect live with Customer Support

Need help?

Contact Us