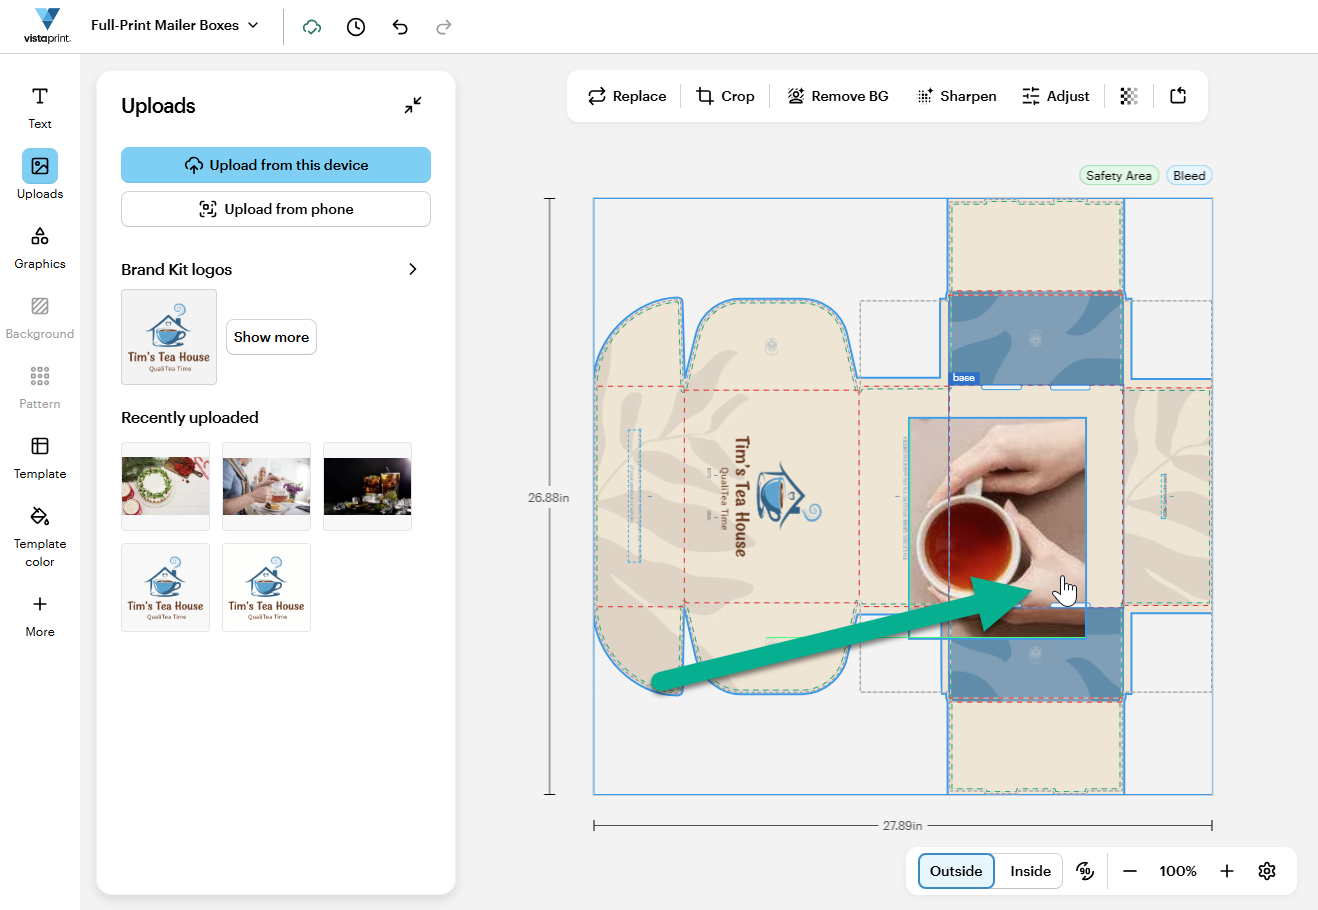
Follow these steps to adjust the size and placement of your image:
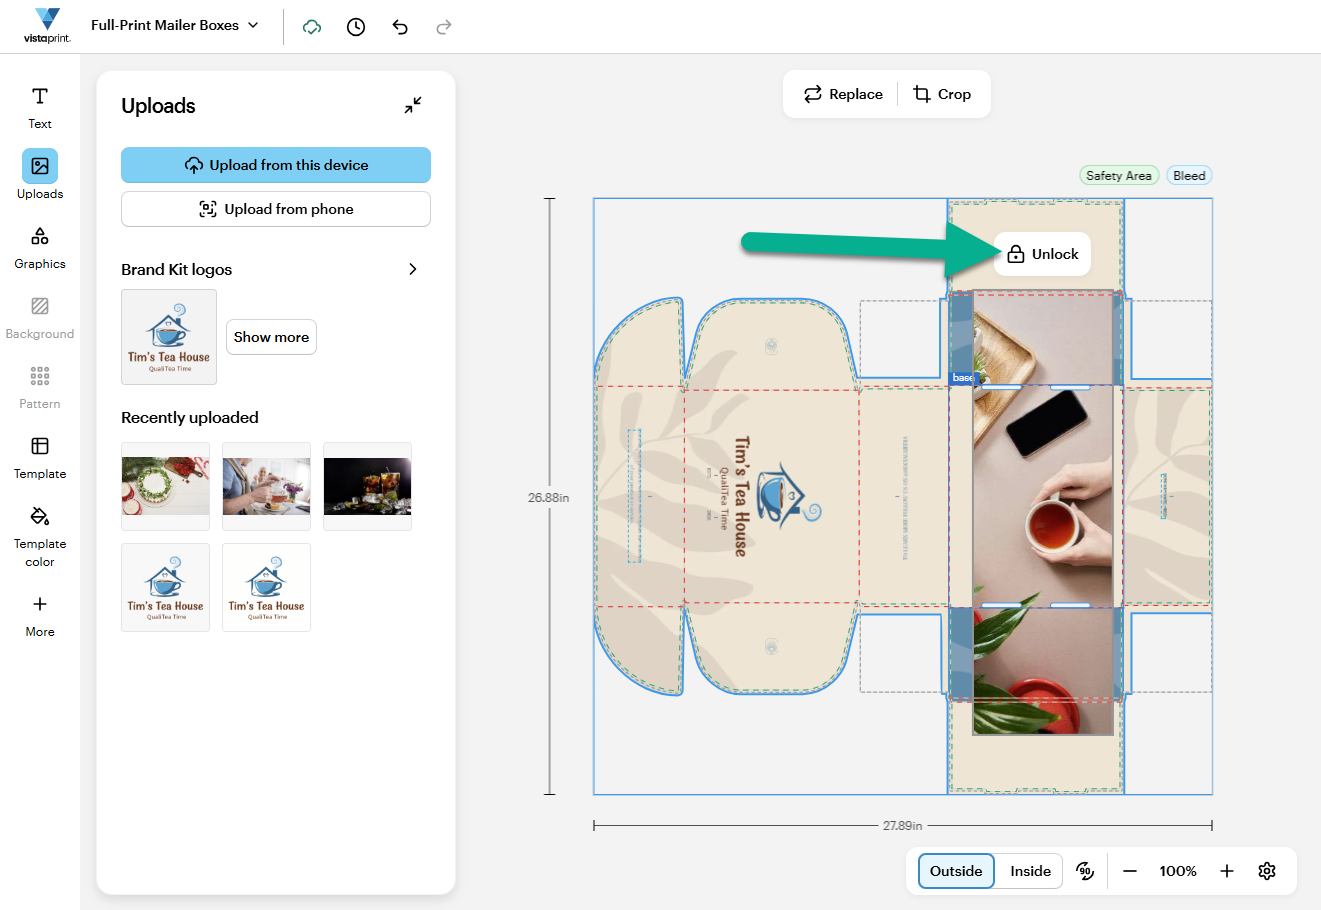
Select the image
Find and select the image you want to adjust. If your image is locked, select the unlock icon to unlock it.
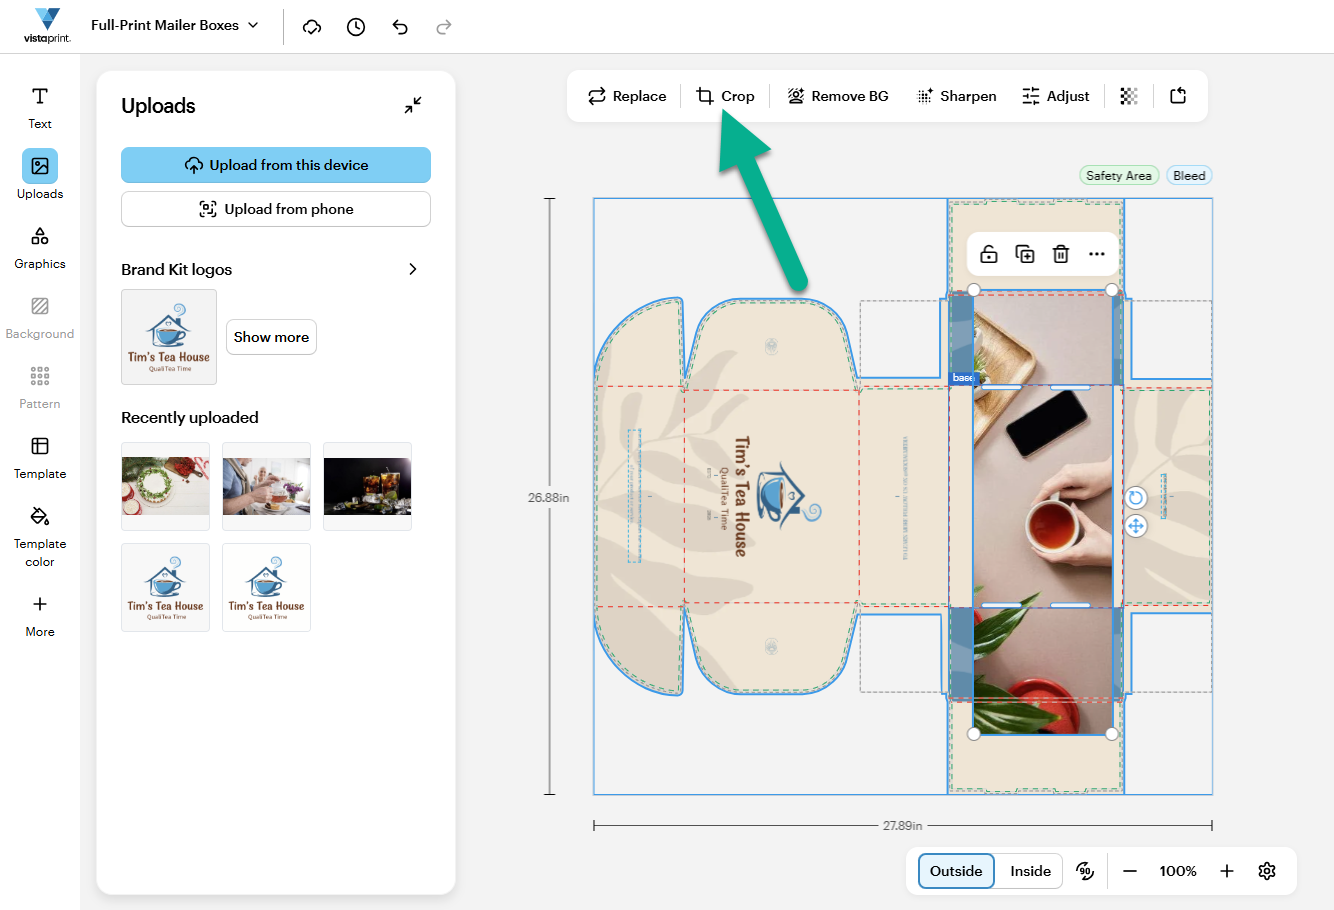
Crop or add a frame
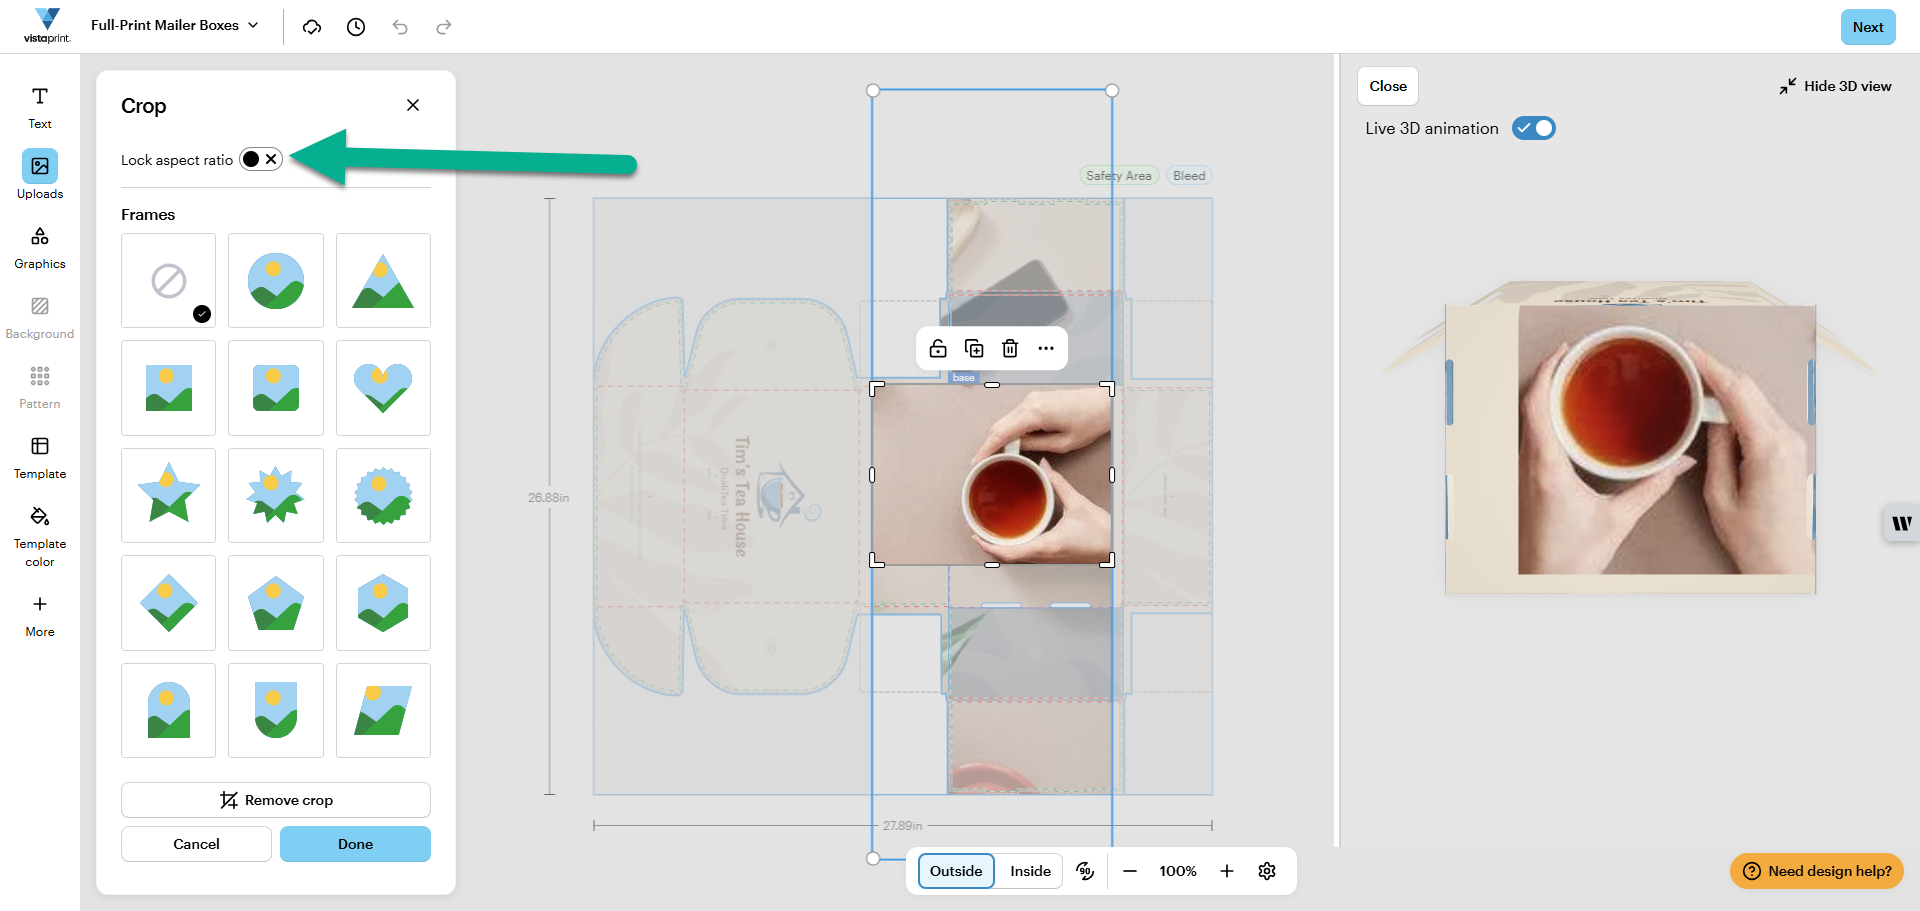
Select the crop option to change how much of your image is shown. You can also select one of our frames to add a shape to your image.
The proportions of the image are automatically locked. To crop the image to a different format, toggle the ‘Lock aspect ratio’ option in the Crop menu.
Resize the image
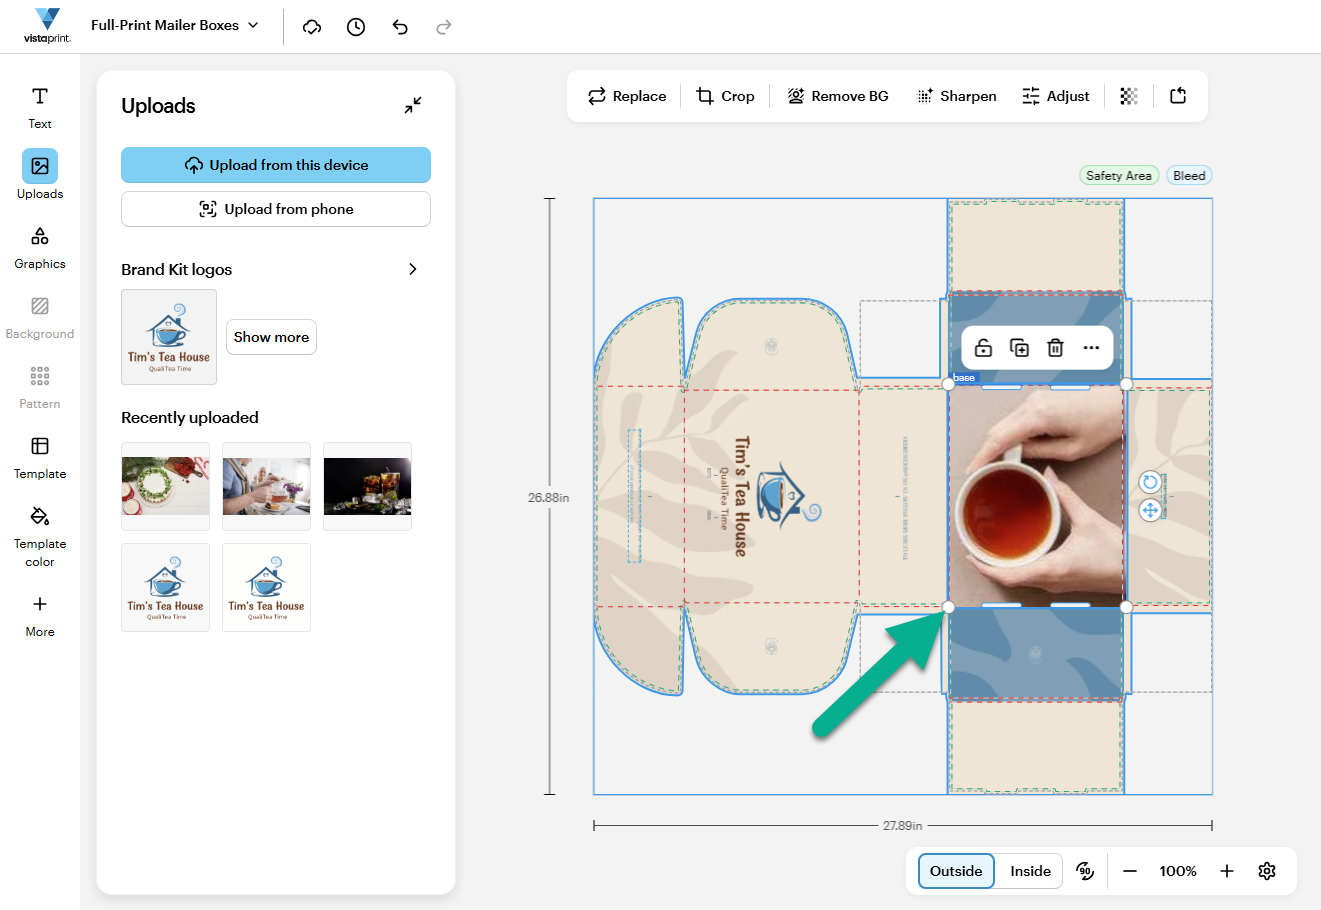
Drag the corner handles to change the size of the image. The proportions of the image are locked, so you won't accidentally stretch or compress the image.
Rotate
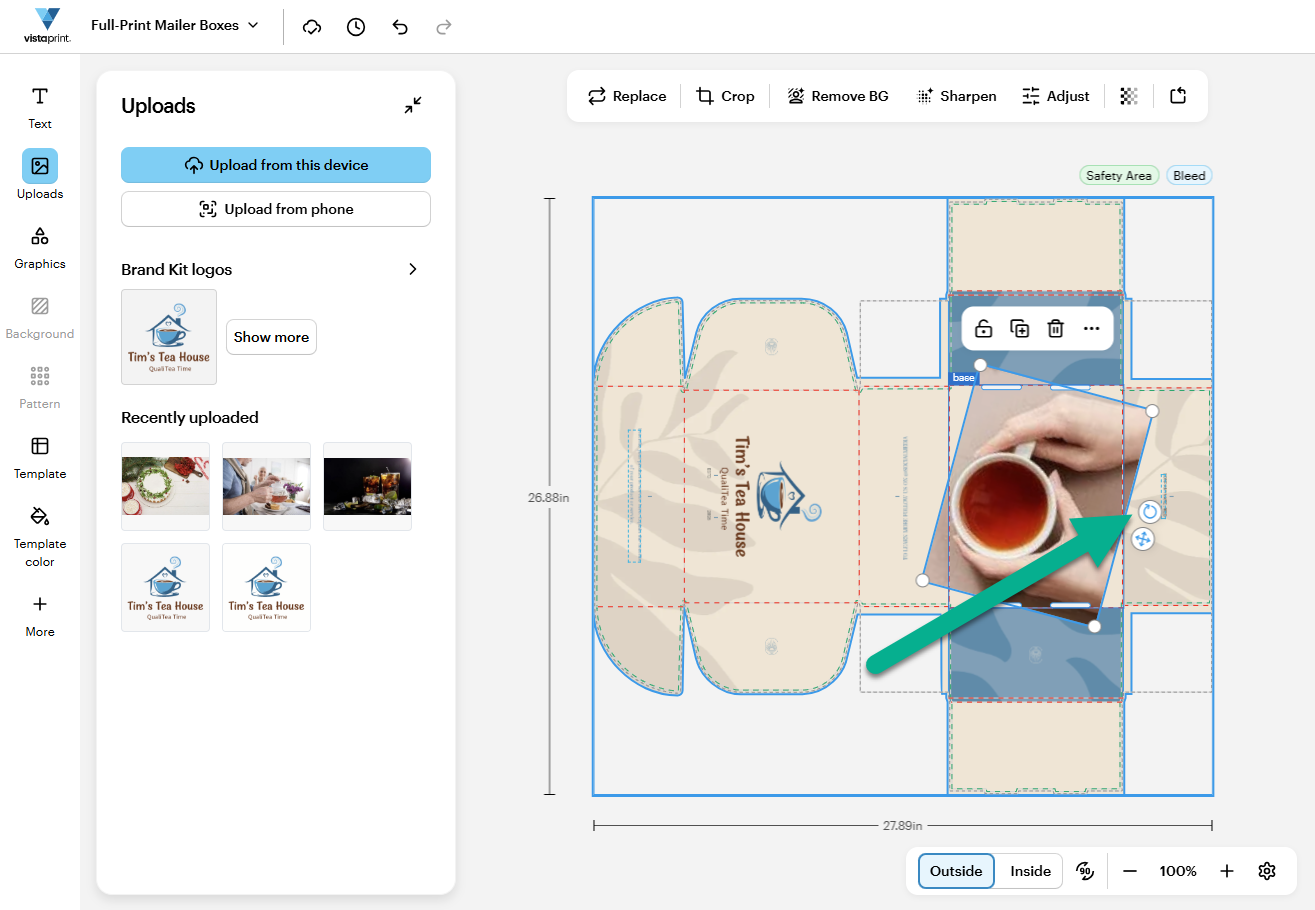
To rotate the image, select the curved arrow handle near the image to turn it. The angle of the rotation is shown in degrees as you rotate the image.
Reposition
Move the image by dragging it to a new spot on the box.