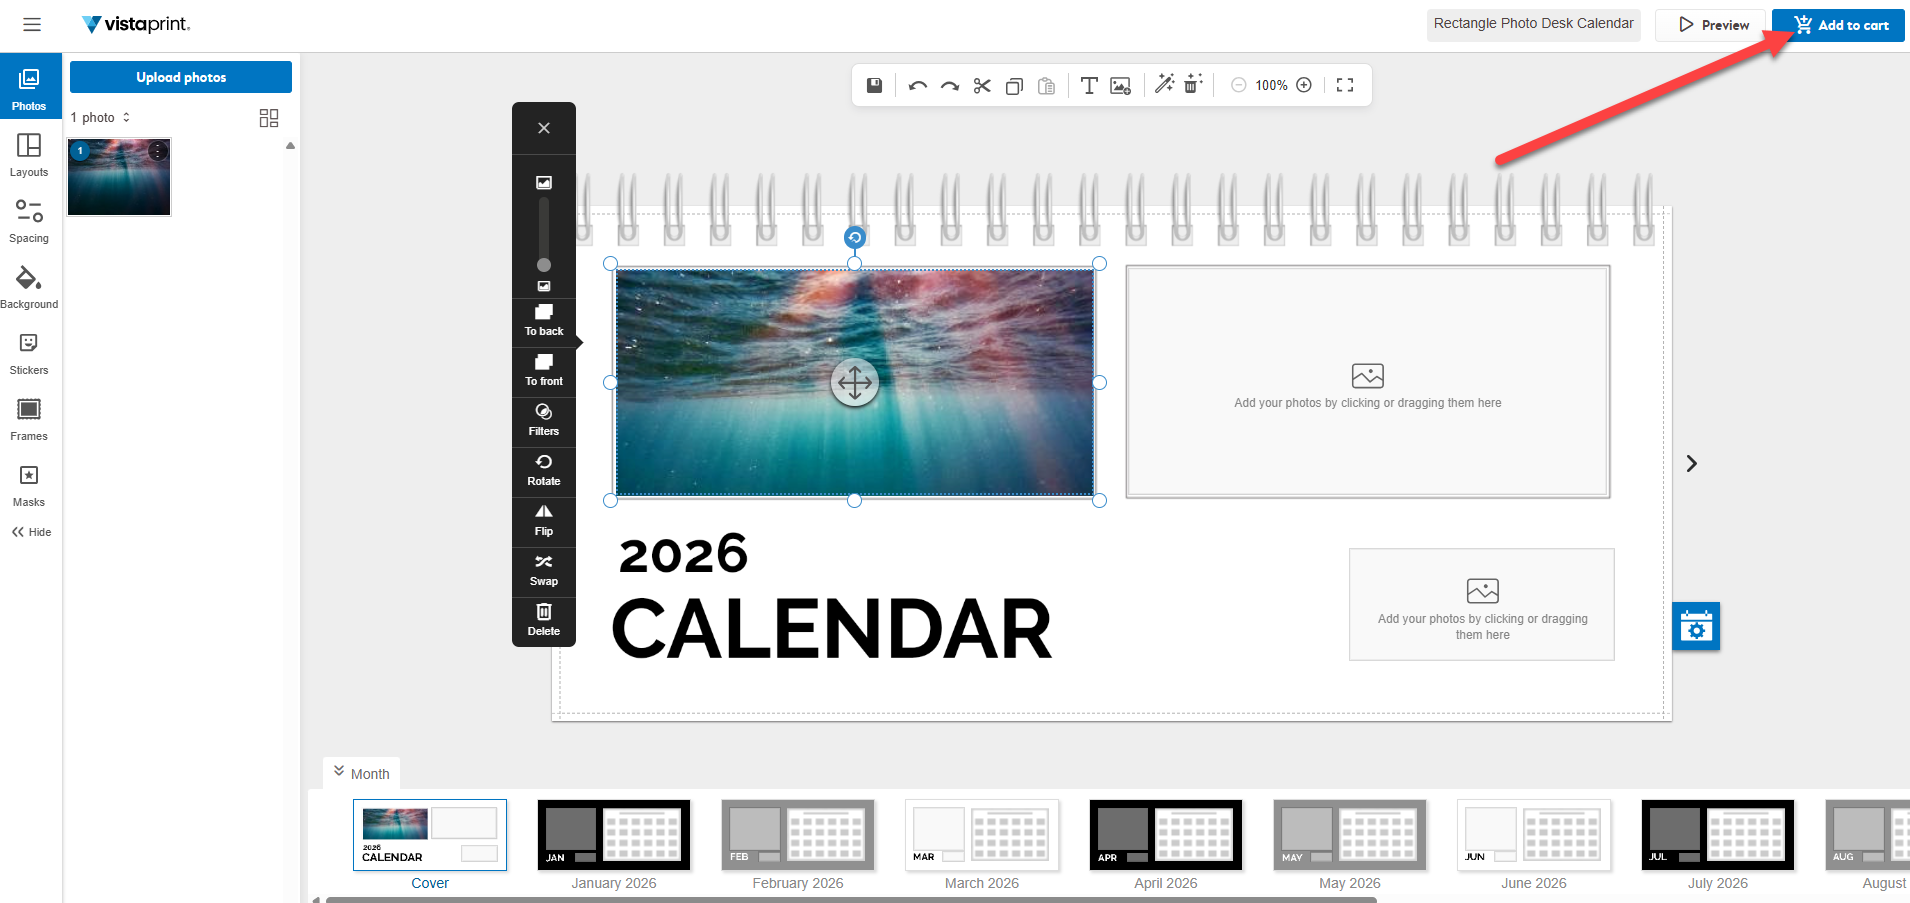
Start designing a calendar
Pick a calendar from our Calendars product page and select Browse our templates. Select a template to start designing.
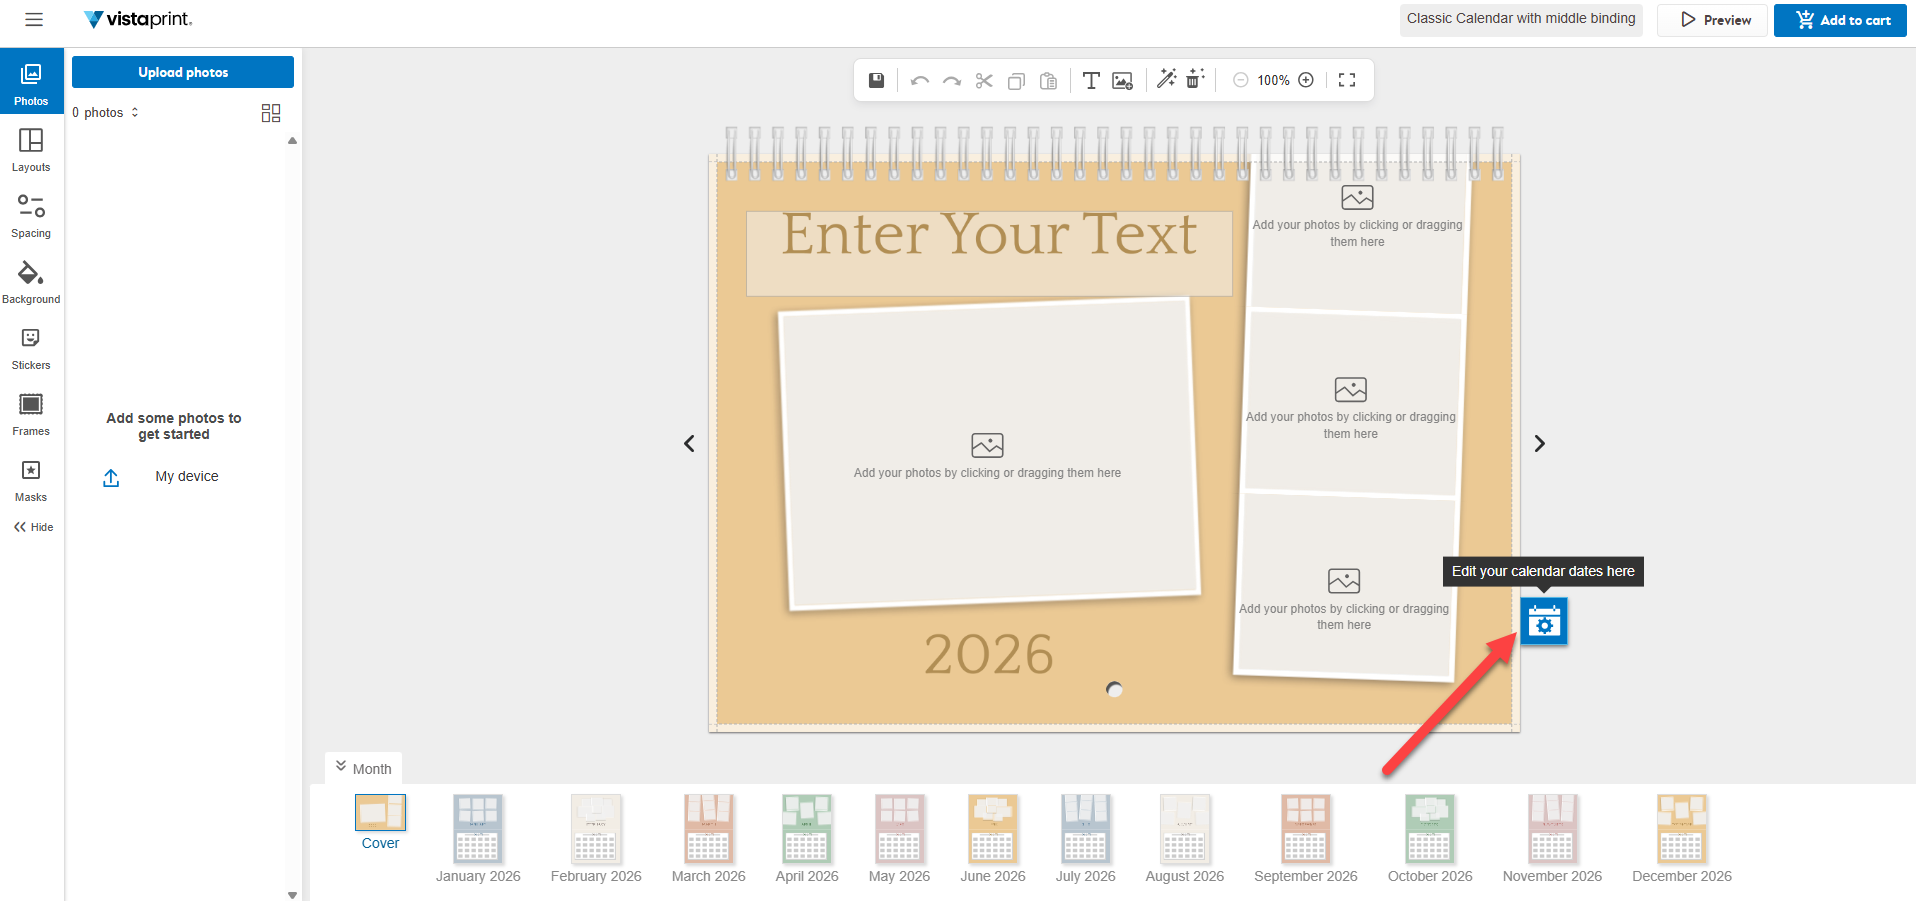
Set the start date
Select the Events icon next to the calendar and navigate to the Start date tab to pick a starting month and year. The calendar will automatically update to display the 12 months following your selection.
Place photos on the calendar
Drag photos from the Upload photos panel to the canvas. To help you track your design, a counter next to each photo shows how many times that specific image has been used in the calendar. You can also choose to show only images you haven't used yet.
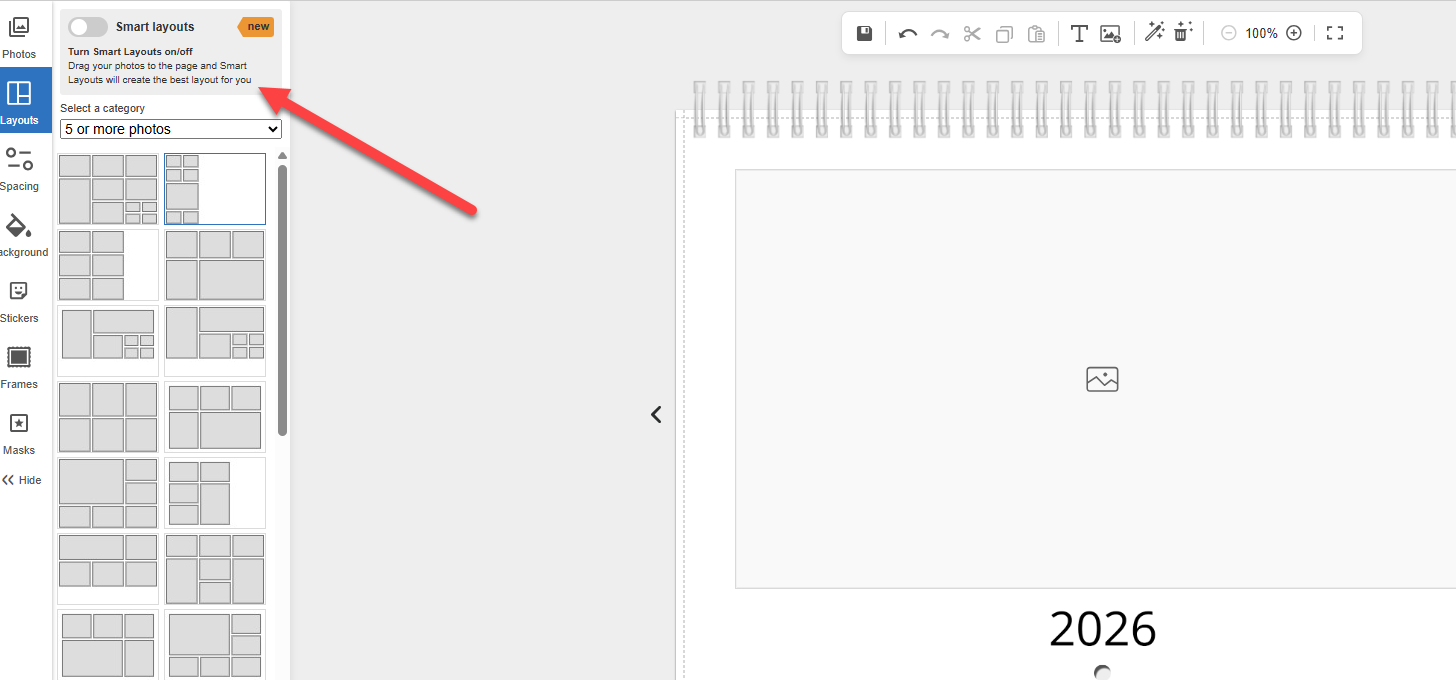
Add layouts to place multiple photos
Turn on Smart layouts to automatically get the best layout when you drag photos onto a page. You can also drag photo placeholders from the toolbar onto the page. If a page has multiple images, you can shuffle the layout to try different combinations.
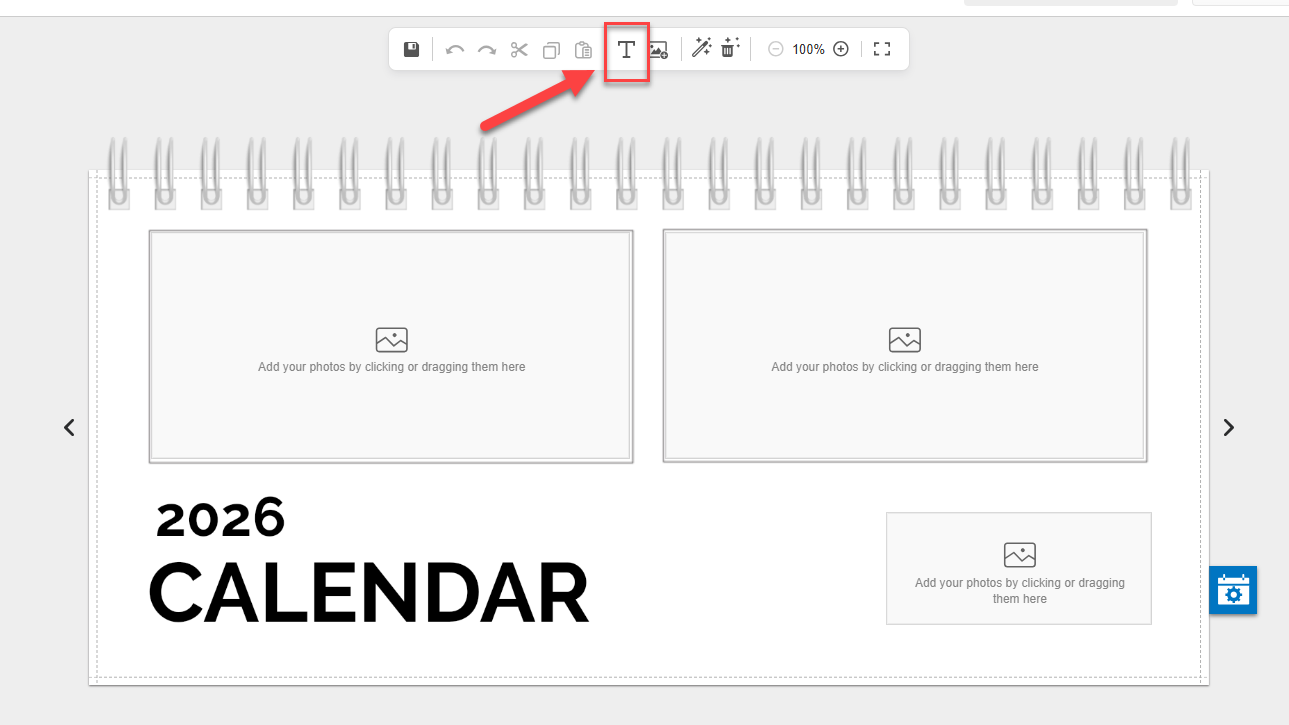
Add text
Add text fields to any page using the Text option in the toolbar. For example, you can write a message or photo caption. You can move the text field around on the canvas and adjust the formatting of the text.
Edit the images
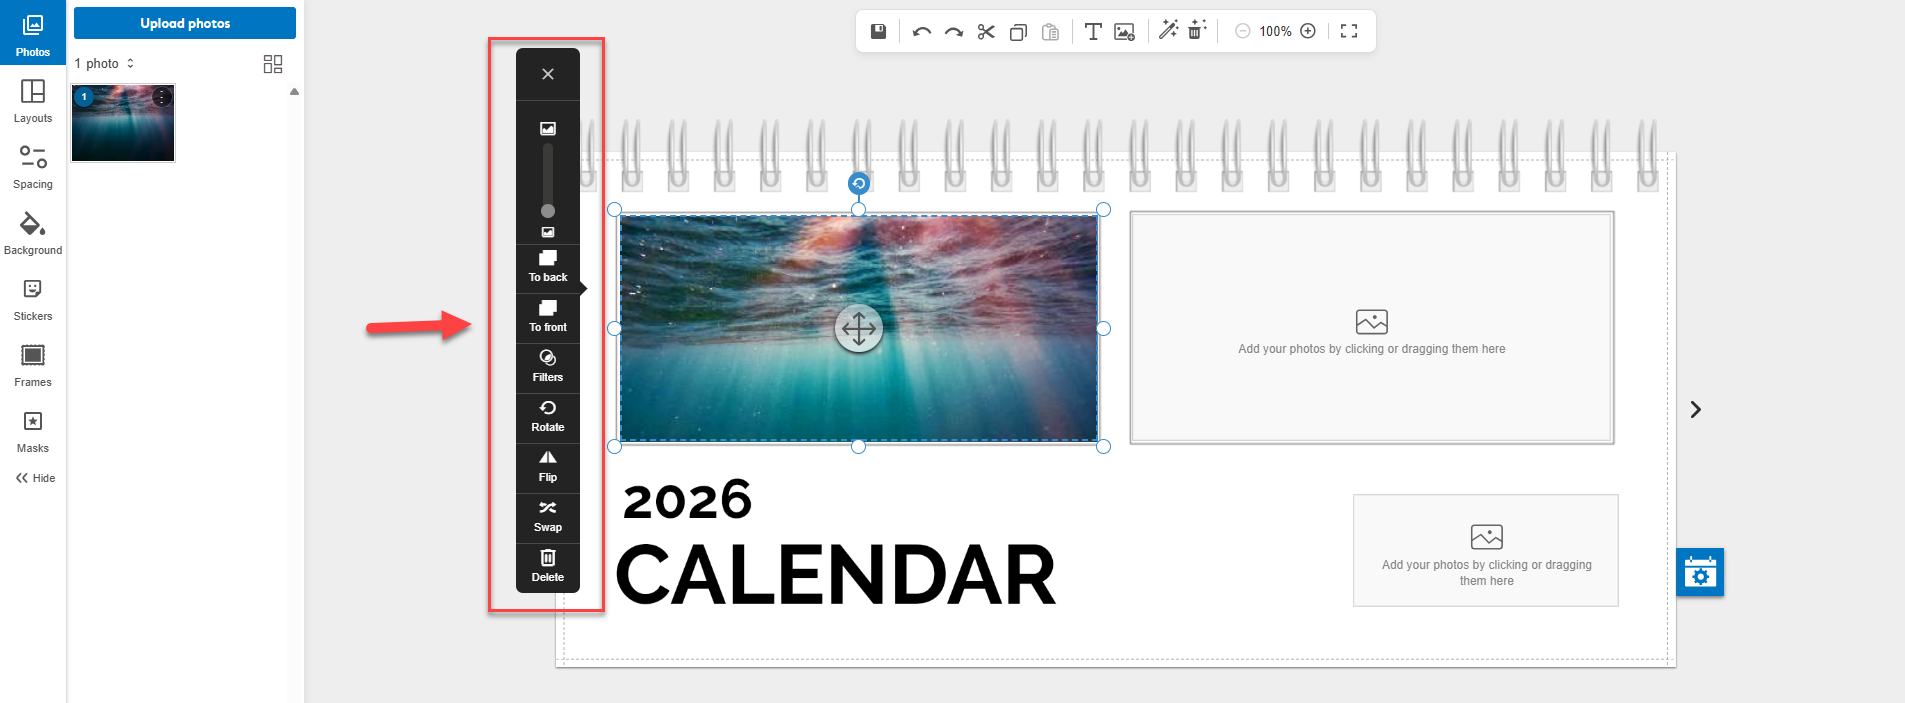
Select any image on the canvas to access editing tools. For example, you can arrange the image, add filters, rotate, flip or remove the image.
If a photo is low resolution, we'll let you know that it may print blurry. When this happens, we recommend using a higher-quality image or smaller print size.
Save your work often
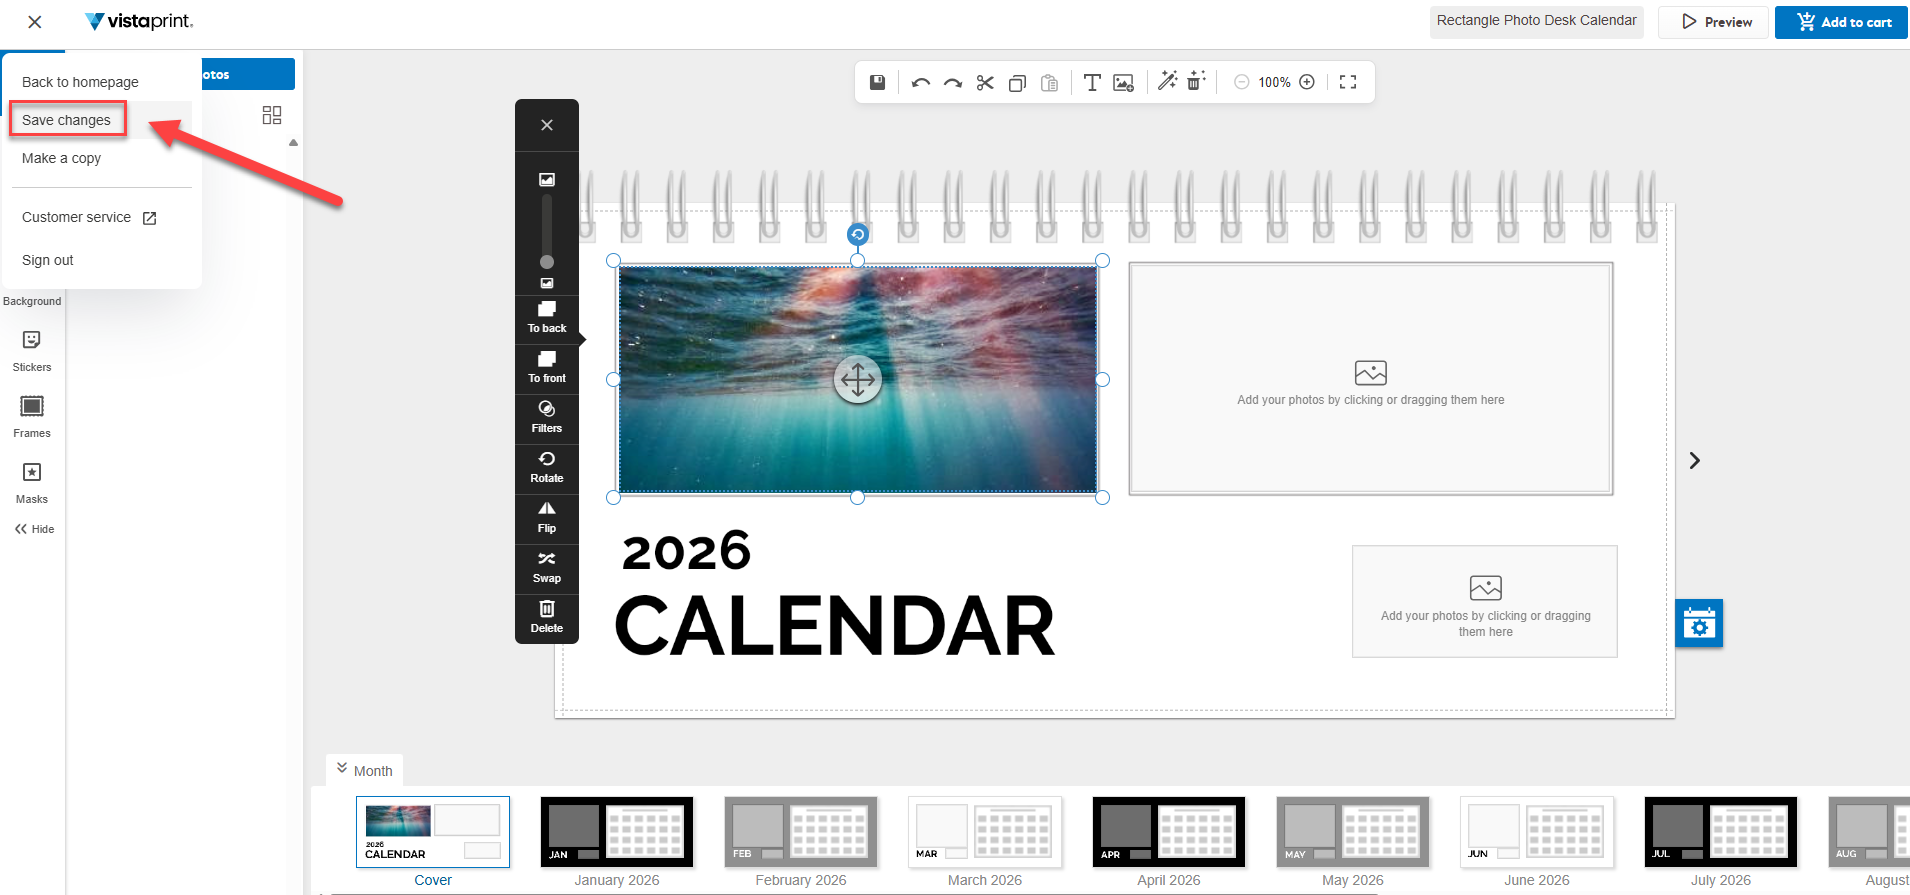
You can save by selecting Save in the toolbar. You can also use the menu to copy your project if needed.
Add to cart
When you’re happy with your calendar, select Add to cart to continue to checkout. If your calendar contains any low-resolution images, we’ll let you know. You can choose to edit your design or continue anyway. During checkout, you can also select the paper stock.